
This tutorial will show you how to install Tomcat Server on AMI2 Instance. Below is a step-by-step guide to installing Tomcat on your AMI2 instance.
- If you already have a new instance installed and you don’t need to install it, you need to install Java first.
| $ sudo yum install java-1.8.0 -y |
- Second, install tomcat.
| $ sudo yum install tomcat –y $ sudo yum install tomcat-webapps tomcat-docs-webapp tomcat-admin-webapps -y |
- To change the configuration, go to the tomcat installation directory (/ etc / tomcat /). For example, you need to configure ports, users, and roles. When the file is ready, just open the mode file with sudo permissions.
- Then change the default port, 8080 to 8181. Because my Jenkins will continue to run same port. If both have the same port, the server will not start using the error address already a bind exception.
- Open the server.xml file under /etc/tomcat/server.xml file and change the port and save it

- Now I want add tomcat webui username and password and roles . Open the tomcat-
- users.xml file and edit and save it.. /etc/tomcat/tomcat-users.xml. add below content under <tomcat-users> tag..
<tomcat-users>
<role rolename="admin"/>
<role rolename="admin-gui"/>
<role rolename="admin-script"/>
<role rolename="manager"/>
<role rolename="manager-gui"/>
<role rolename="manager-script"/>
<role rolename="manager-jmx"/>
<role rolename="manager-status"/>

<user name="admin" password="admin" roles="admin,manager,admin-gui,admin-
script,manager-gui,manager-script,manager-jmx,manager-status" />

</tomcat-users>- Start the Tomcat service and check the status.
| $ sudo service tomcat start $ sudo service tomcat status |

- Open the inbound / outbound rule to access the Tomcat server Web UI on the new port, 8181
- And access the http://your-server-ip:8181/
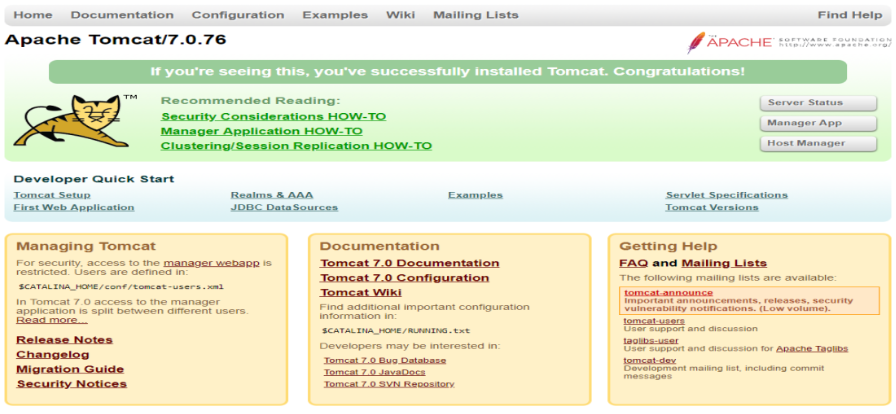
Click the Manager app and enter your username and password i.e admin/admin as we configured at tomcat-users.xml file.
Finally, Apache Tomcat get installed on Amazon Linux 2.