
This tutorial describes how to install Jenkins on CentOS7. Jenkins is a very popular continuous integration and continuous delivery (CI / CD) tool used for development, deployment, and automation.
Continuous integration (CI) is a software development tool that is based on open-source Java. Also known as an automated server for continuous builds and deployments. This helps users automate repetitive tasks that apply to continuous integration and delivery of software. This is very useful for building and testing software or monitoring the execution of other externally executed jobs. This tutorial will show you how to download, install and set up this package on your Centos server.
Install Jenkins in centos7
Step1: update your centos.
$sudo yum install epel-release
$sudo yum update
$sudo reboot
Reboot once and log in as the sudo user.
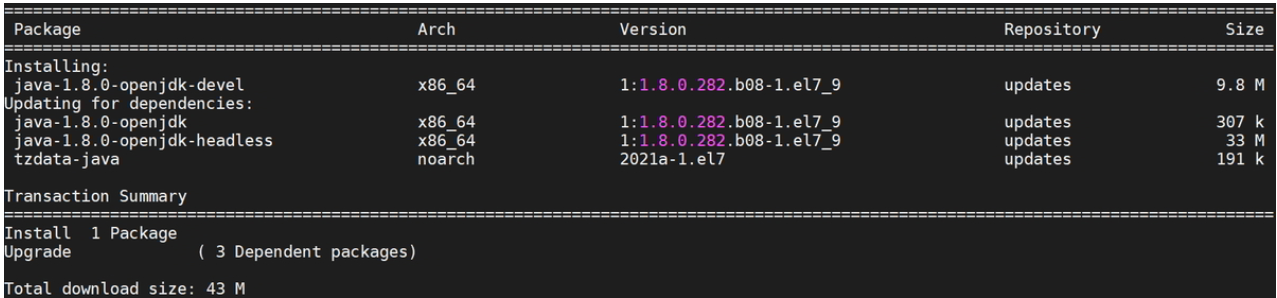
Step2: install java
At first, It is not necessary to reinstall Java if you already have it installed. In addition, If you do not have an installation on your machine. Then, follow the steps below.
$sudo yum install java-1.8.0-openjdk.x86_64
Finally, after installation, check if Java is installed.
 [root@syn ~]# java -version
         openjdk version "1.8.0_131"
          OpenJDK Runtime Environment (build 1.8.0_131-b11)
          OpenJDK 64-Bit Server VM (build 25.131-b11, mixed mode)
          [root@syn ~]#
When compiling a Java-based application, you need to set the JAVA_HOME and JRE_HOME environment variables.
I have Java installed under the path.
[root@syn jvm]# pwd
/usr/lib/jvm
/usr/lib/jvm/java-1.8.0-openjdk-1.8.0.131-2.b11.el7_3.x86_64

sudo cp /etc/profile /etc/profile_backup
echo 'export JAVA_HOME=/usr/lib/jvm/java-1.8.0-openjdk-1.8.0.131-2.b11.el7_3.x86_64
' | sudo tee -a /etc/profile
echo 'export JRE_HOME=/usr/lib/jvm/java-1.8.0-openjdk-1.8.0.131-2.b11.el7_3.x86_64/jre' | sudo tee -a /etc/profile
source /etc/profile
export JAVA_HOME=/usr/lib/jvm/java-1.8.0-openjdk-1.8.0.131-2.b11.el7_3.x86_64
export JRE_HOME=/usr/lib/jvm/java-1.8.0-openjdk-1.8.0.131-2.b11.el7_3.x86_64/jre
[root@syn jvm]#
Print the set environment variables.
echo $JAVA_HOME
echo $JRE_HOME
Step 3: Install Jenkins.
Use the official YUM repository to install the latest stable version of Jenkins.
Add the Jenkins repository to the yum repository and install Jenkins from here.
Stable version installation
sudo wget -O /etc/yum.repos.d/jenkins.repo http://pkg.jenkins-ci.org/redhat-stable/jenkins.repo
    sudo rpm --import https://jenkins-ci.org/redhat/jenkins-ci.org.key
    sudo yum install Jenkins
Start/Stop
sudo service jenkins start/stop/restart
    sudo chkconfig jenkins on
Disable the firewall
firewall-cmd --permanent --new-service=jenkins
firewall-cmd --permanent --service=jenkins --set-short="Jenkins Service Ports"
firewall-cmd --permanent --service=jenkins --set-description="Jenkins service firewalld port exceptions"
firewall-cmd --permanent --service=jenkins --add-port=8080/tcp
firewall-cmd --permanent --add-service=jenkins
firewall-cmd --zone=public --add-service=http --permanent
firewall-cmd –reload
After that go to the browser, and enter the following URL.
http://localhost:8080/