
This Ansible tutorial helps freshers and experienced professionals to understand the basics of Ansible. It can also help as a guide to engineers.
Introduction to Ansible:
The configuration management system is designed to allow administrators and operations teams to easily control large numbers of servers. They allow you to automatically control many different systems from a central location.
There are many common configuration management systems available on Linux systems, such as Chef and Puppet, but they are often more complex than most people want or need. Ansible is a good alternative to these options as it has much less overhead to get started.
Install Ansible on your Ubuntu machine
Ansible works by configuring the client machine from the machine where the Ansible component is installed and configured. Communicates over a regular SSH channel, gets information from a remote machine, issues commands, and copies files. Therefore, Ansible systems do not require any additional software to be installed on the client’s computer. In this way, Ansible simplifies server management. Servers with exposed SSH ports can be part of the Ansible configuration, regardless of where they are in the life cycle. Any computer that can be managed via SSH can also be managed via Ansible.
Ansible takes a modular approach that allows you to easily extend the capabilities of your main system to handle specific scenarios. Modules can be written in any language and can communicate in standard JSON. Configuration files are primarily written in YAML data serialization format because they are expressive and similar to common markup languages. Ansible can interact with clients via command-line tools or configuration scripts called playbooks.
Installation procedure
To explore Ansible as a way to manage different servers, you need to have Ansible software installed on at least one computer. This section uses the Ubuntu 16.04 server.
The best way to get Ansible for Ubuntu is to add the project’s PPA (Personal Package Archive) to your system. You can add Ansible PPA by entering the following command:
$ sudo apt-add-repository ppa:ansible/ansiblePress Enter to accept the PPA addition.
Next, you need to update the system’s package index to recognize the packages available in PPA. Then you can install the software.
$ sudo apt-get update
$ sudo apt-get install ansible
Enter “Y” when prompted for confirmation.
once successfully installed ansible. Check the version of Ansible.
$ ansible --version
Configuring Ansible Hosts
Ansible keeps track of all known servers via the “hosts” file. You must first set this file before you can start communicating with other computers.
Open the file with root privileges as follows:
$ sudo nano /etc/ansible/hosts
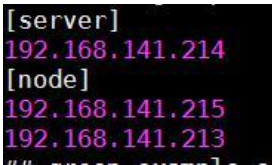
You will see a file with many sample configurations, but none of them actually work because these hosts are configured. So, first, add a “#” before each line to comment out all the lines in this file. Save these examples to a file to help you configure them in case you want to implement more complex scenarios in the future. Once all the lines have been commented out, you can start adding the actual host. The host file is extremely flexible and can be configured in different ways. However, the syntax used is as follows:
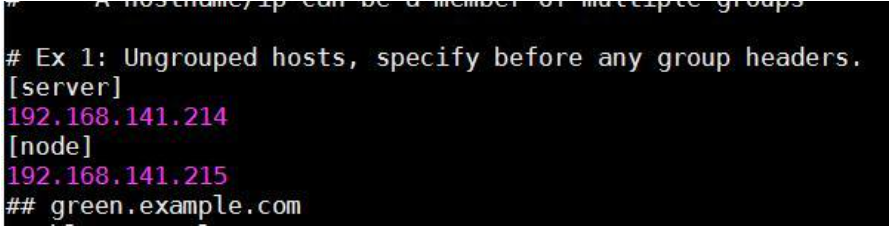
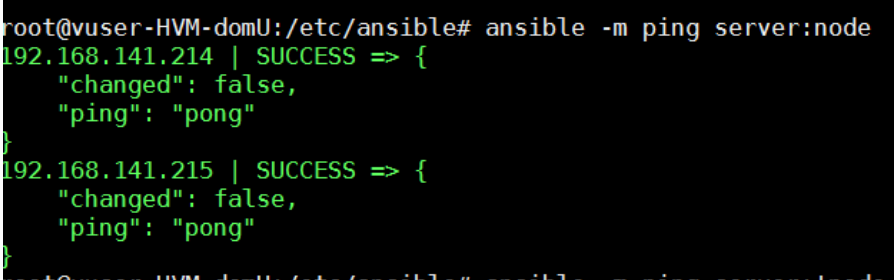
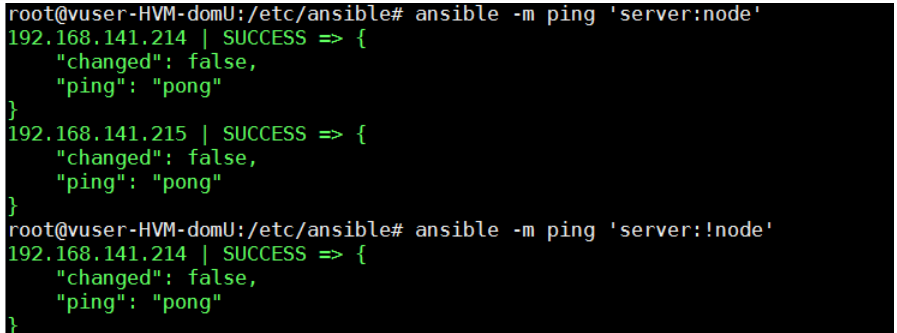
In the screen above, the server and node are group names and you can configure the number of hosts under the group.
We can add an alias name to refer to the host like below.
[group_name]
alias ansible_ssh_host=your_server_ip
A group name is an organization tag that allows you to use a single word to reference all the servers listed below. An alias is just a name that refers to that server.
So in this scenario, imagine you have two servers controlled by Ansible. You can access these servers from the Ansible server by typing:
$ ssh root@your_server_ip
If set correctly, you will not be prompted for a password. When prompted for a password, generate an ssh key with the following command:
$ ssh-keygen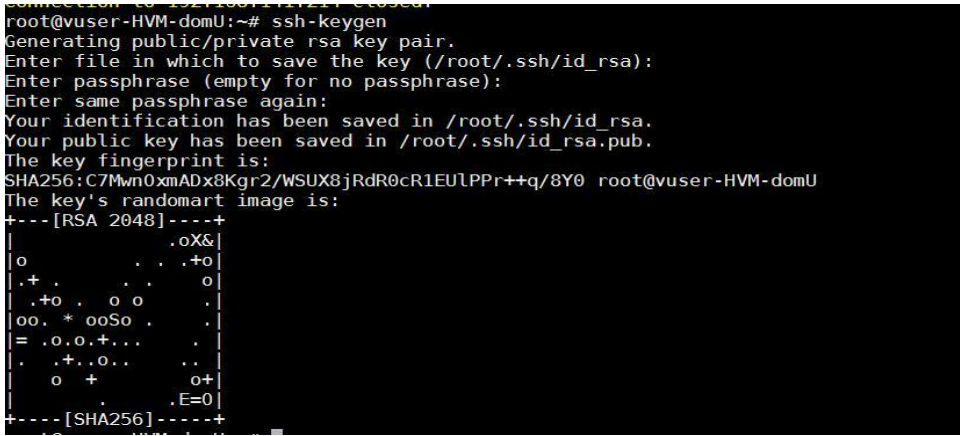
Add this key locally to the remote server using the following command:
$ ssh-copy-id root@192.168.141.124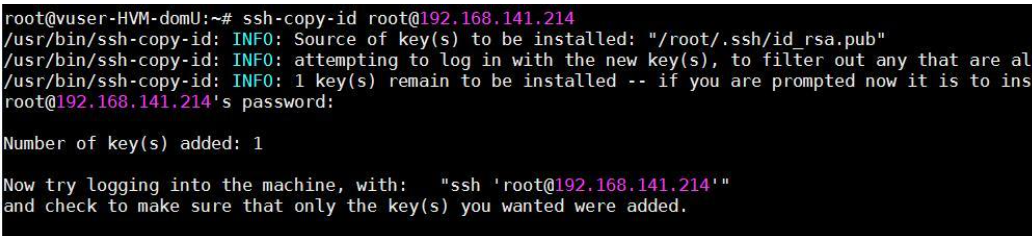
It is assumed that the IP address of the server is 192.168.141.214 and 192.168.141.215. Set this so that you can call these individually as Host1, Host2, or as a group server, and the node as a server.
[server]
host1 ansible_ssh_host=192.168.141.214
[node]
host2 ansible_ssh_host=192.168.141.215
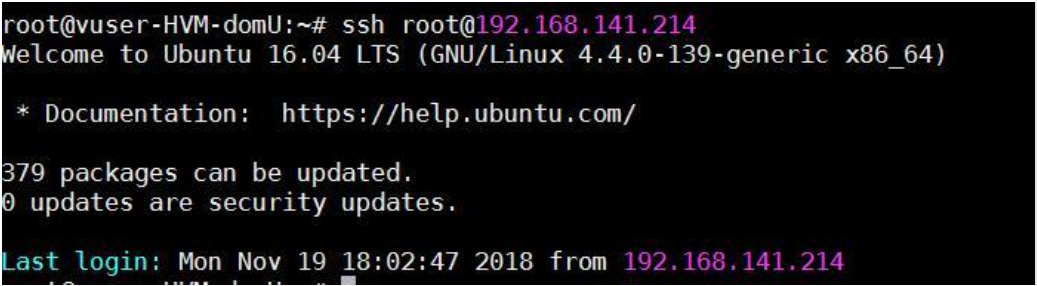
Then try the ssh command. This time, I didn’t ask for the root password after setting the SSH key.
Use the ping module to see if ssh works without a password.
Let’s run the following command.
I added another node for testing purposes that is 192.168.141.213, under the node group in the host’s file.
See the output:
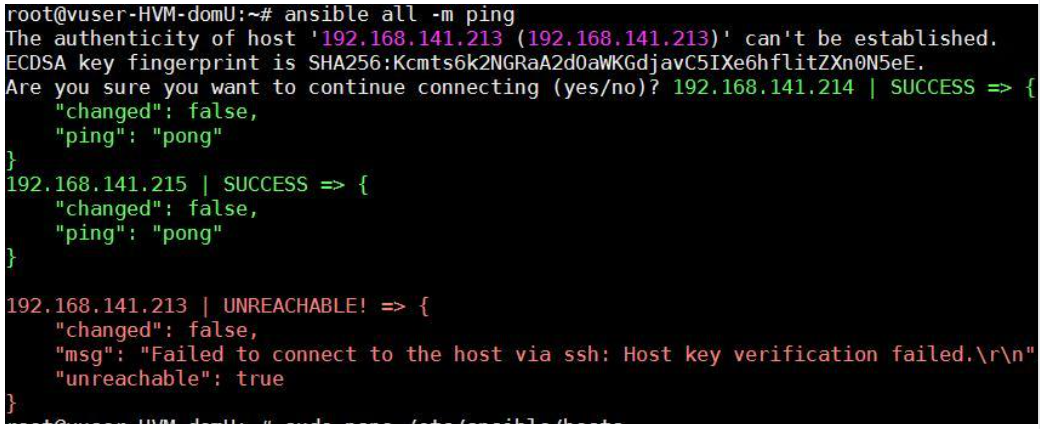
192.168.141.213 failed with an error because the SSH key was not added to that node.
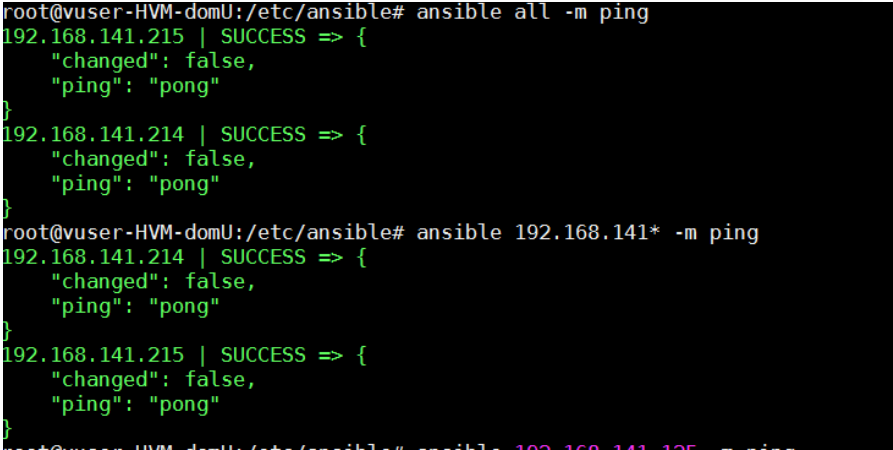
where: all means the hosts file and all hosts (IPs) in the -m module, or ping.
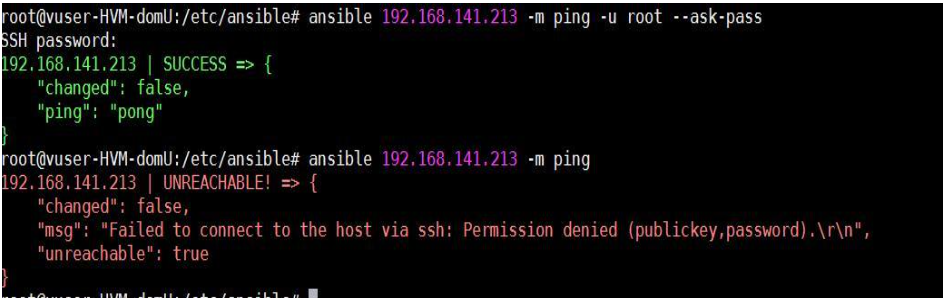
Note: If you use the following command, you need to enter the password.
root@vuser-HVM-domU:/etc/ansible# ansible 192.168.141.213 -m ping -u root - - ask-pass
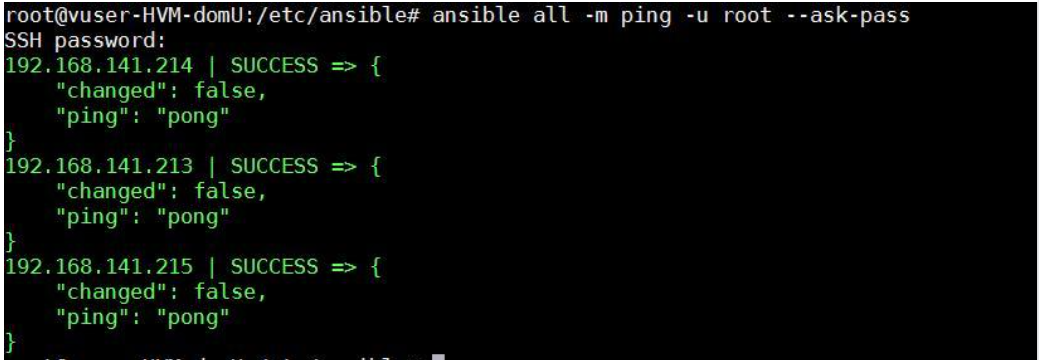
Now, let’s ping all nodes at a time…
Let us learn the some of Important modules in ansible:
ping
file
raw
commad
shell
service
debbug
copy
yum
apt
template
mail
git
user
group
mount
docker…..etc
hundreds of modules available in ansible.
Hands-on ad-hoc commands:
What are ad-hoc commands?
Ad hoc commands are something you can enter to do something quickly, but you don’t want to save them later.
This is a good place to start understanding the basics of what you can do with Ansible before learning the language of your playbook. You can also use ad hoc commands to quickly perform things that you don’t necessarily have the complete commands to create a playbook.
Running Ad Hoc Commands
The basic syntax consists of ansible then the host group from hosts to run against, -m <MODULE_NAME>, and optionally providing arguments via -a “OPT_ARGS”
Simple Modules
ping module:
- This module is a simple test module and will always return a Pong on successful contact. It doesn’t make sense in a playbook, but it’s helpful to make sure you can log in and have available Python configured from /usr/bin/ansible.
- This is NOT ICMP ping. This is a simple test module that requires Python on a remote node.
- For Windows targets, use the win_ping module instead.
- And For network targets, use the net_ping module instead.
For Example:
# ansible <hostname/ip/group> -m ping

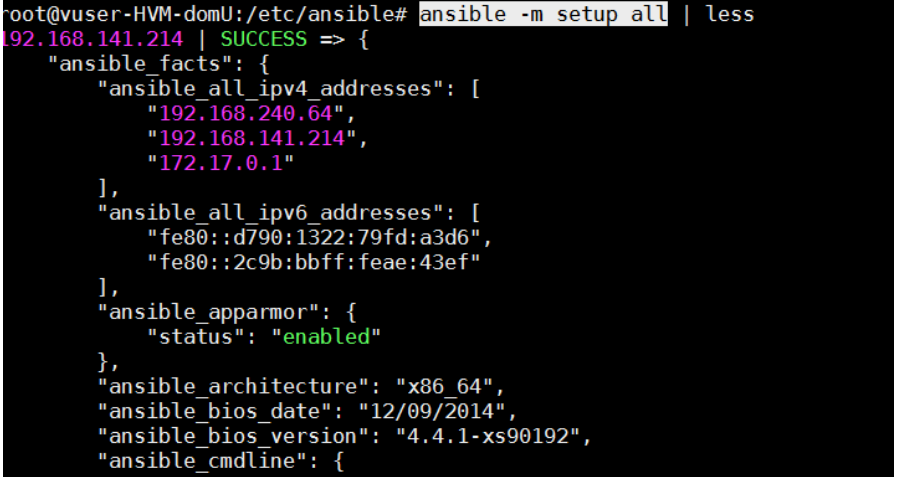
Setup Module: This module is used to collect data about the host.
$  ansible -m setup all
$  ansible -m setup <node_ip>
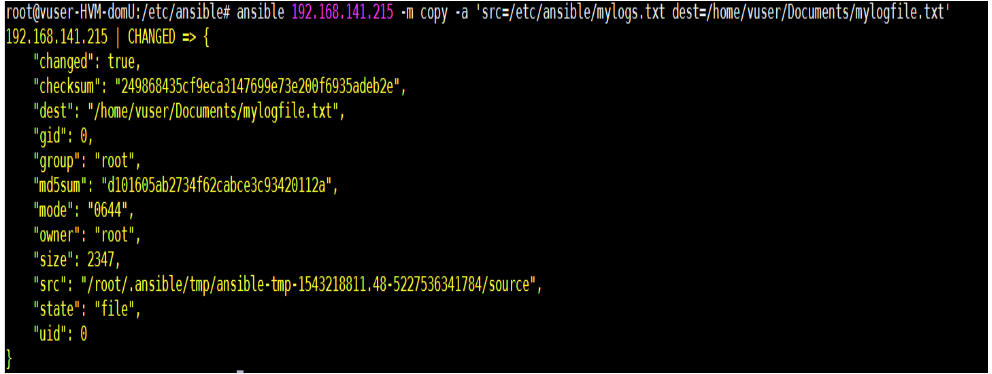
Copy Module:
This module is used to copy files to multiple nodes at the same time.
$ ansible <node_ip/group> -m copy -a 'src=/path/of/the/file/hostmachine dest=/path/of/the/file/in/destinationhost'
Command Module:
This module we will use to execute a command in bash.
$ ansible <node_ip/hostgoup> -m command -a 'pwd'
Shell Module
Use this module when you use operators such as PipesRedirect … and so on. It also works with command modules.
$ ansible <node_ip/hostgroup> -m shell -a 'echo $PATH'

File Module
This module is used to create directories, set or change file permissions and ownership, and more.
$ ansible <node_ip/host group> -m file -a 'dest=/dest/of/the/path mode=600 owner=madhu group=madhu'Note: If the file does not exist, the target file must exist before granting permissions. Crete file with state = touch option.
To give file permission using the below command
$ ansible 192.168.141.215 -m file -a 'dest=/home/vuser/Documents/samplefile.txt mode=642'
For creating a directory
$ ansible 192.168.141.215 -m file -a 'dest=/home/vuser/Documents/testfile mode=600 state=directory'

For creating a file
$ ansible 192.168.141.215 -m file -a 'dest=/home/vuser/Documents/testfile mode=600 state=touch'
To remove a File
$ ansible 192.168.141.215 -m file -a 'dest=/home/vuser/Documents/testfile mode=600 state=absent'

Write a playbook using the file module:
Task 1
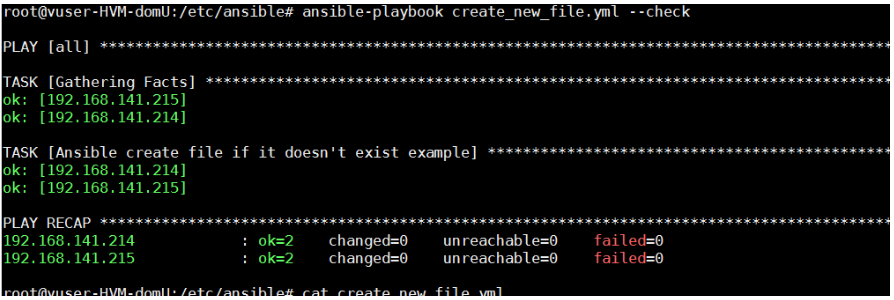
write a playbook to create a new file.
- step1: create a file create_new_file.yml
- step2: edit the file using the below script
root@vuser-HVM-domU:/etc/ansible# cat create_new_file.yml
---
- hosts: all
  tasks:
  - name: Ansible create file if it doesn't exist example
    file:
      path: "/home/vuser/Documents/newfile_create"
      state: touch
- step3: check the syntax first. using the below command.
# ansible-playbook create_new_file.yml --syntax-check
- step4: Run the playbook and see the result. using the below command.
$ ansible-playbook create_new_file.yml
You have successfully created your first playbook in Ansible. Then do more with different tasks.
Task 2
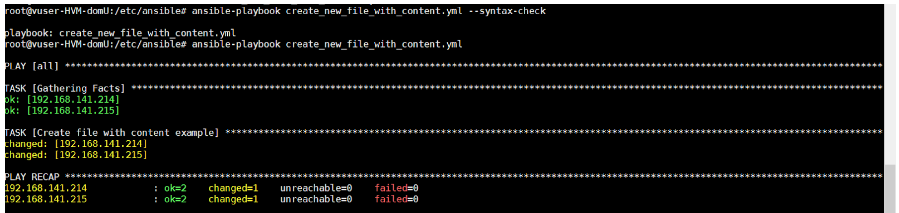
Create a new File With Content.
follow the above steps to create, syntax check, and run the playbooks all below task same
Note: if you are writing playbooks with roles the way of writing a playbook is different will see further in this note….. Let`s move on……..
- hosts: all
tasks:
- name: Create file with content example
copy:
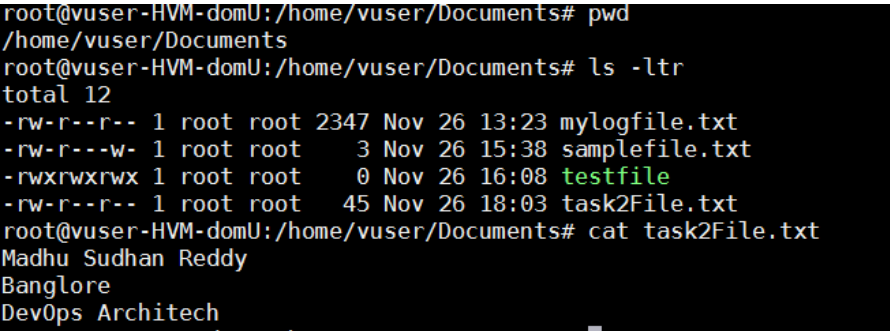
dest: "/home/vuser/Documents/task2File.txt"
content: |
Madhu Sudhan Reddy
Banglore
DevOps Architech
Go to the node and check and confirm the path where the file containing the content was created.
It’s great to have successfully completed the second task here … we need to learn … more and more … go further …
Task 3
Write a playbook for Setting the permissions for a new file
root@vuser-HVM-domU:/etc/ansible# cat create_new_file_with_permissions.yml
---
- hosts: all
  tasks:
  - name: Ansible create new file with permissions example.
    file:
      path: "/home/vuser/Documents/task3File.txt"
      state: touch
      mode: 0777
      owner: vuser
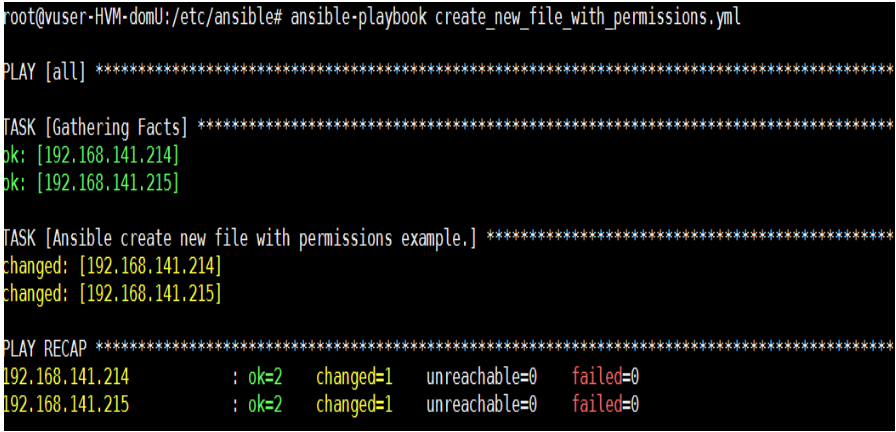
you are done tird task also move move… great…
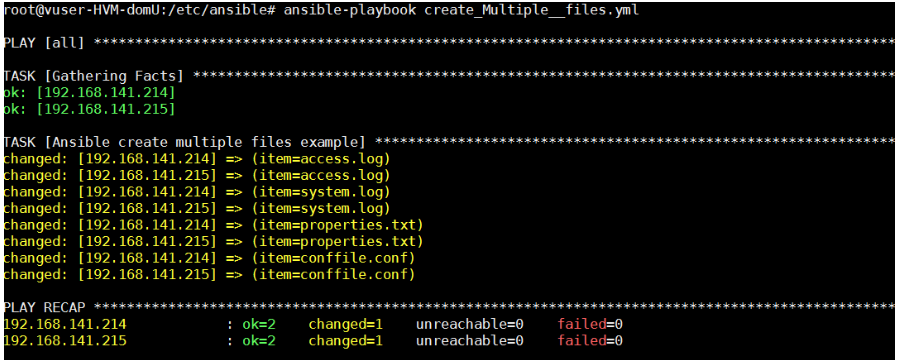
Task 4
Create a playbook to create multiple files at once (real-time use case).
root@vuser-HVM-domU:/etc/ansible# cat create_Multiple__files.yml
---
- hosts: all
  tasks:
  - name: Ansible create multiple files example
    file:
      path: "{{ item }}"
      state: touch
      mode: 0775
    with_items:
    - access.log
    - system.log
    - properties.txt
    - conffile.conf
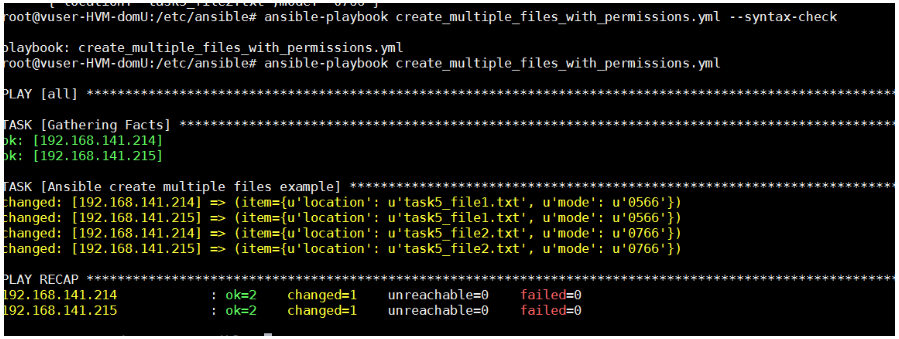
Task 5
Create a playbook to create multiple files with permissions at once (real-time use case).
root@vuser-HVM-domU:/etc/ansible# cat create_multiple_files_with_permissions.yml
---
- hosts: all
  tasks:
  - name: Ansible create multiple files example
    file:
      path: "{{ item.location }}"
      state: touch
      mode: "{{ item.mode }}"
    with_items:
    - { location: 'task5_file1.txt',mode: '0566'}
    - { location: 'task5_file2.txt',mode: '0766'}
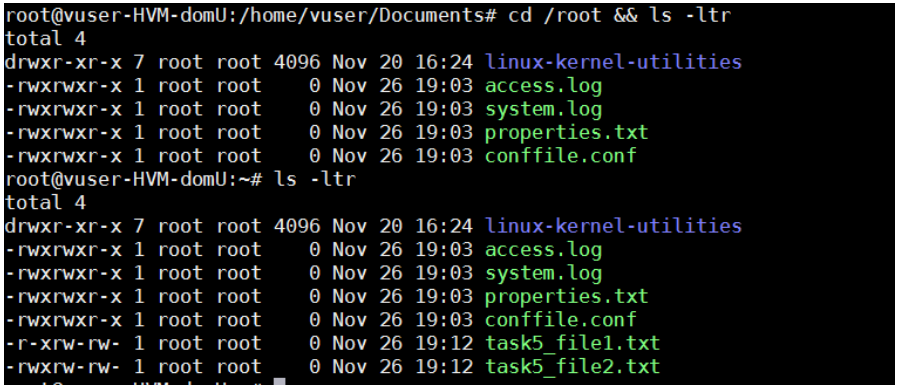
to check the output go to node and check the root directory.
Lets see some more modules ad-hoc commands………….
LineInFile Module:
This module is used to write content to a file.
$ ansible 192.168.141.215 -m lineinfile -a 'dest=/home/vuser/Documents/samplefile.txt line="This notes written by madhu sudhan reddy" 'Note: The file must be included in the path before running this command.

apt module:
This module is used to manage the installation of applications.
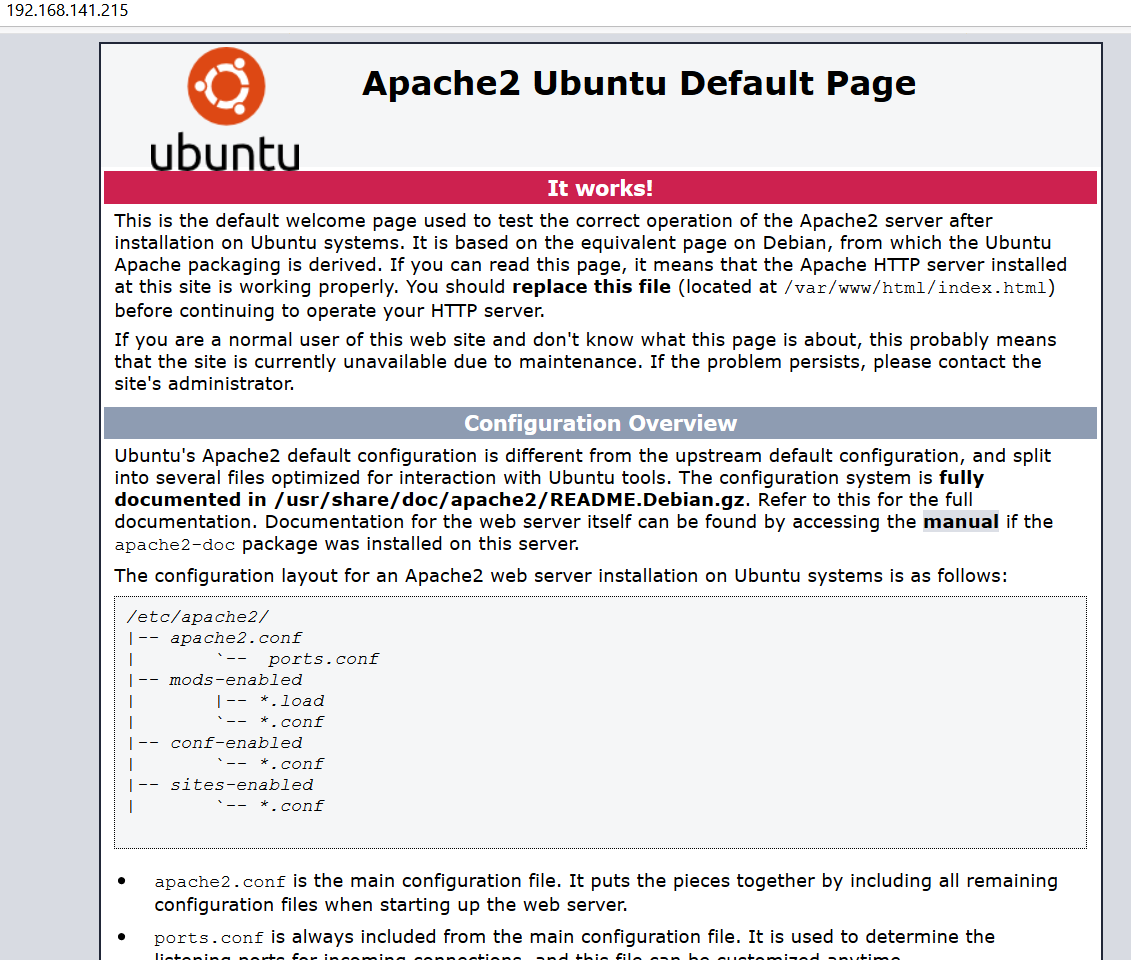
$ ansible 192.168.141.215 -m apt -a 'name=apache2 state=present'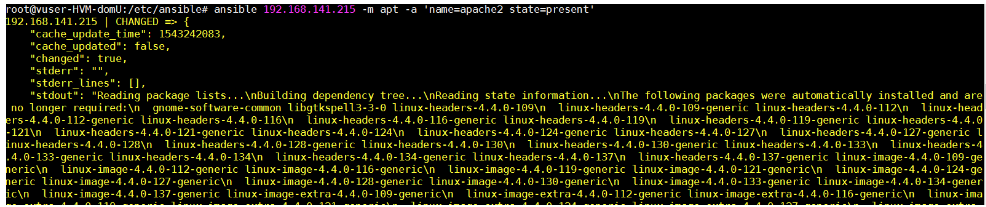
check the installation is successful or not goto browser http://<IP>
Service Module:
This module is used for start , stop ,restart a service.
ansible nodes -b -m yum --private-key=tomcat.pem  -a 'name=httpd state=present'


ansible nodes -b -m service --private-key=tomcat.pem  -a 'name=httpd state=started'